|
gallerystudio construction
Photo diary of the studio construction
The tracking room is constructed by building four new walls adjecant to the existing ones but without actually touching them. The frame for the new wall is isolated from the floor and the ceiling using a 5 mm strip of neoprene rubber running the full length of the frame.
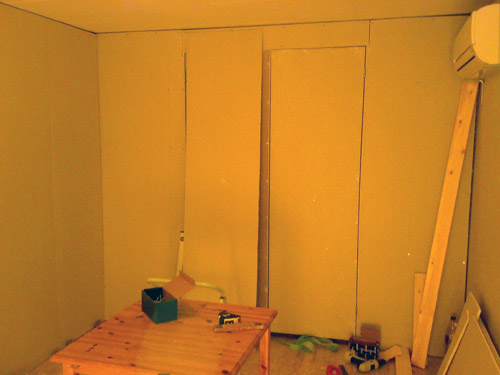
The frame is then fitted with Rockwool and then covered with 13 mm sheets of gyproc (plaster sheet boards). A thin strip of absortive foam is lined between the frame and the first layer of gyproc sheets. Afterwards yet another set of foam strips are placed between the first and the second layer of gyproc. This is done to minimize vibrations between the different layers.
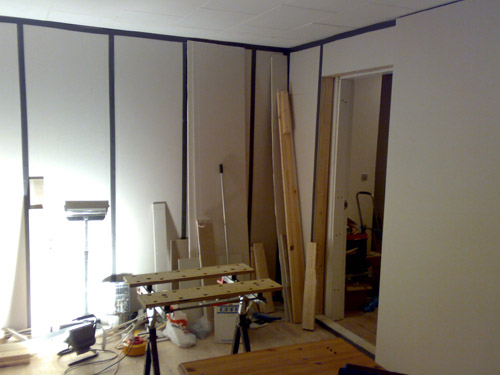
Finally the wall is sealed with an elastic silicone mass everywhere where the walls connect or meet the ceiling and floor. This is done to make the wall airtight.
The new wall has been fitted with another set of doors adjecant to the existing ones to make sure sound doesn't escape here.
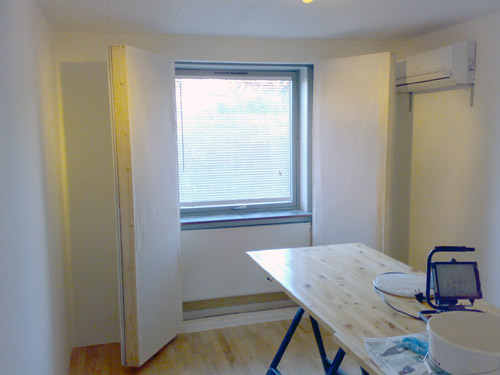
A set of double doors were done to cover up the existing window and heater, still making them accessable for when recording is not in progress.
The control room was painted and treated with a carpet to cover the exiting tiles on the floor. A working space was established and the room was acoustically treated to make the room sonically right for sound production. The monitors were raised onto shelfs to have the right hight for listening and suspended on 5 mm strips of neoprene rubber.
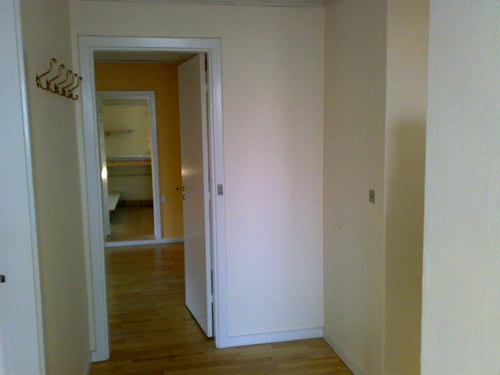
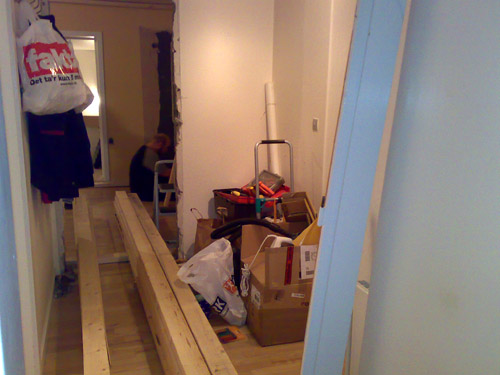
Day 1 - Door to the tracking room - starting point
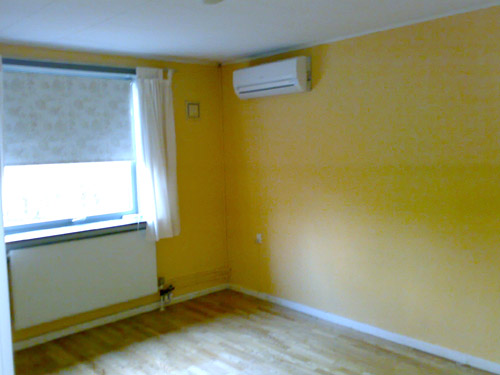
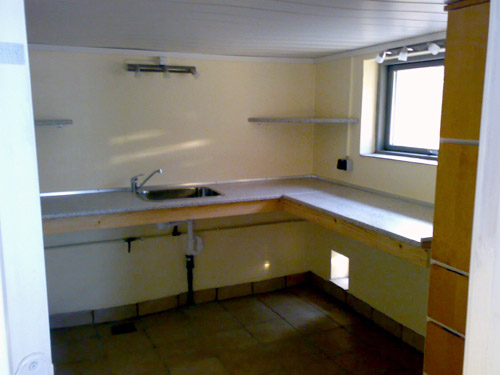
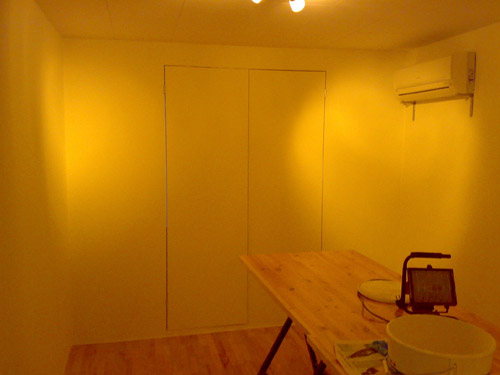
Day 1 - Tracking room - starting point
Day 1 - Tracking room - starting point
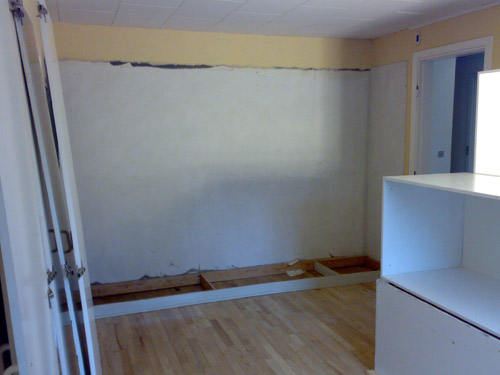
Day 1 - Control room - starting point
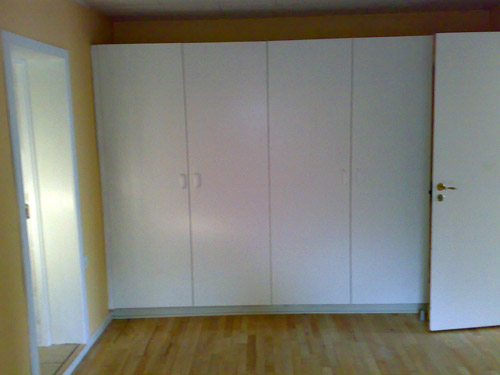
Day 2 - Tracking room - removing existing closets
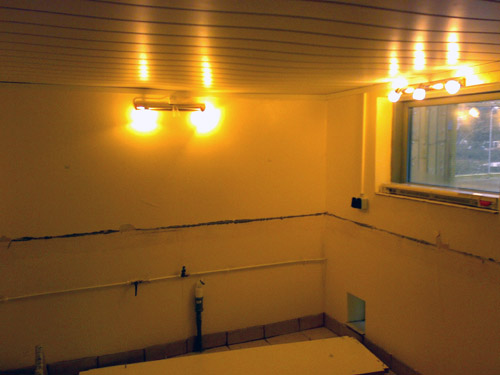
Day 2 - Control room - taring everything down
Day 3 - Tracking room - building the frame
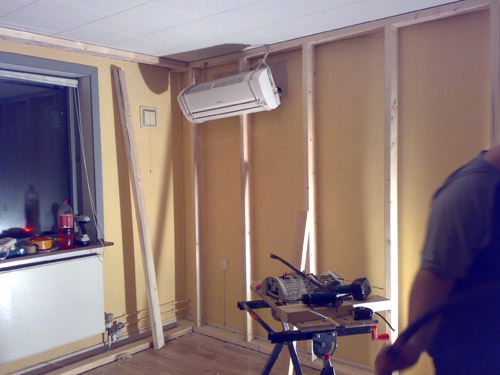
Day 3 - Tracking room - building the frame
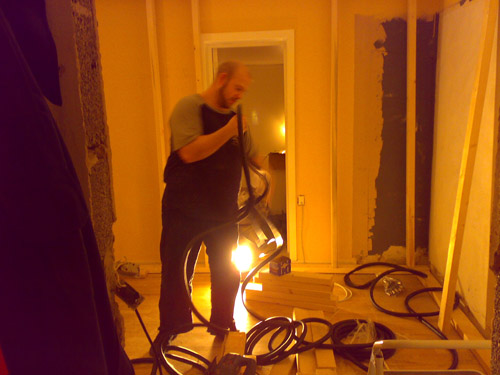
Day 3 - Tracking room - untangling the multicable
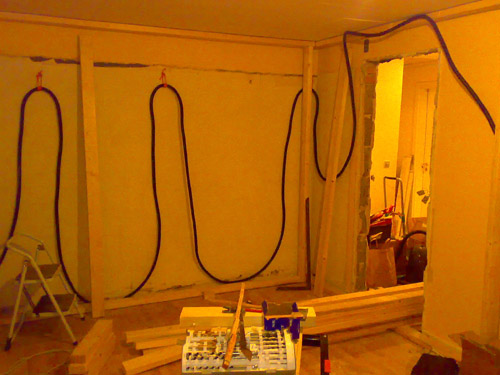
Day 3 - Tracking room - fitting the cable
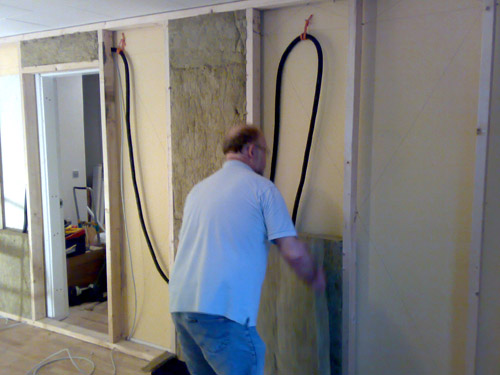
Day 4 - Tracking room - filling in insulation
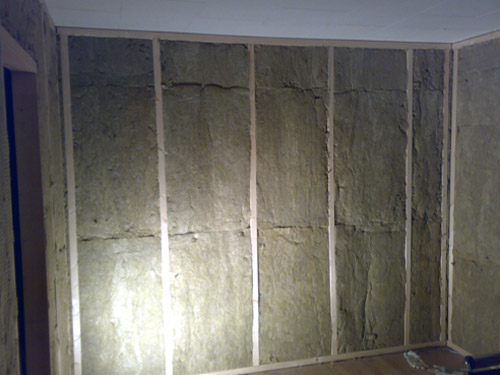
Day 4 - Tracking room - insulation done
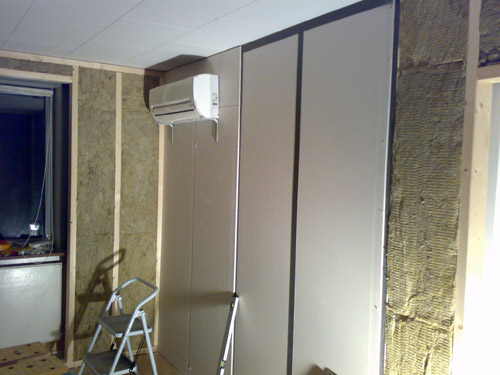
Day 4 - Tracking room - applying sheets of gyproc
Day 5 - Tracking room - first layer og gyproc done
Day 5 - Tracking room - applying second layer of gyproc
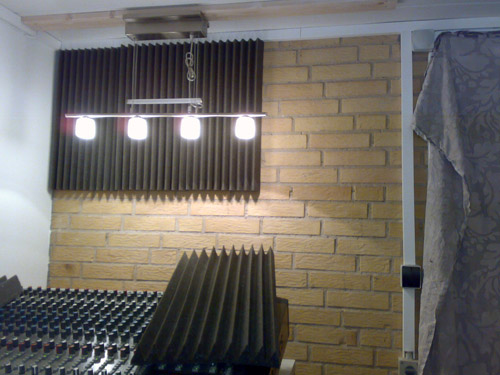
Day 6 - Control room - putting up absorbers
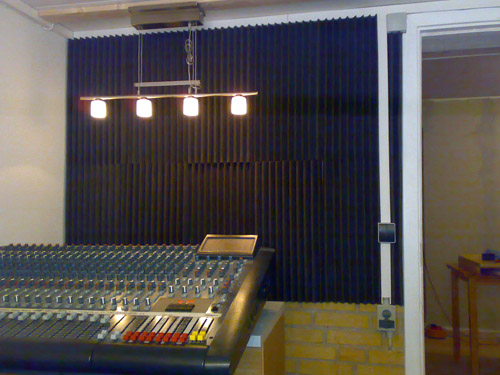
Day 6 - Control room - putting up absorbers
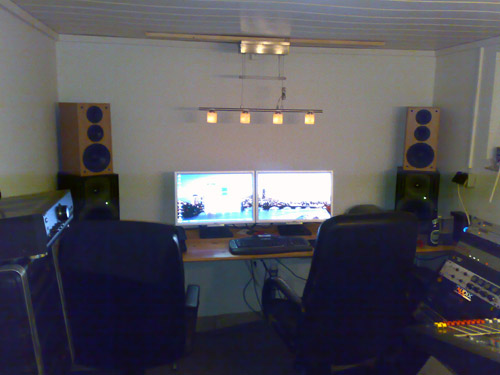
Day 7 - Control room - setting up gear
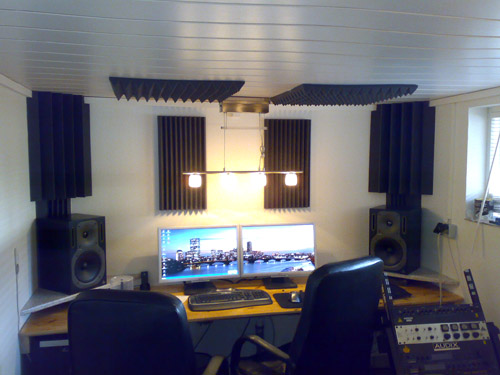
Day 8 - Control room - putting up bass traps and diffusors
Day 8 - Tracking room - finishing double doors with insulation and fabrics
Day 8 - Tracking room - last paintjob done
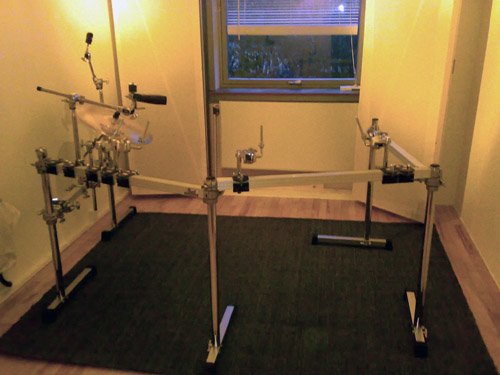
Day 9 - Tracking room - setting up drums
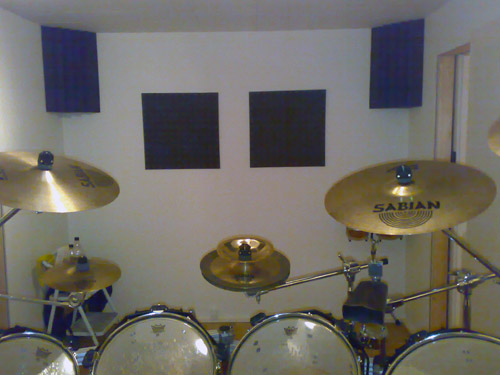
Day 9 - Tracking room - putting up absorbers and bass traps
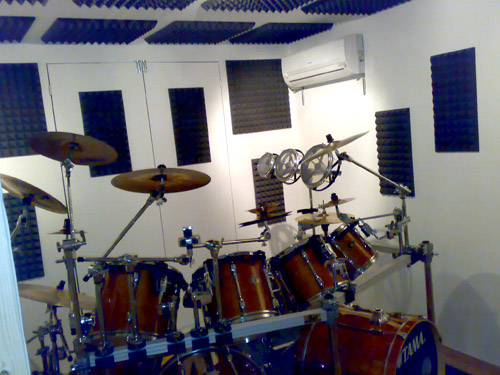
Day 9 - Tracking room - putting up absorbers
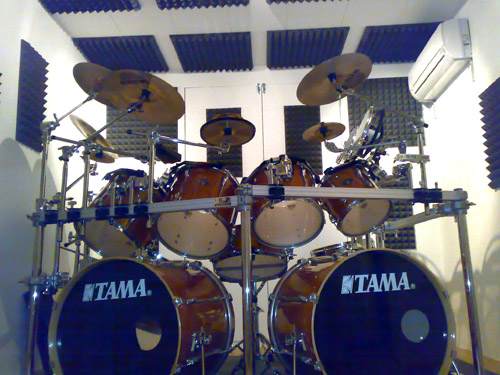
Day 9 - Tracking room - drums in place
|